|
<< Click to Display Table of Contents >> Select a patient |
  
|
|
<< Click to Display Table of Contents >> Select a patient |
|
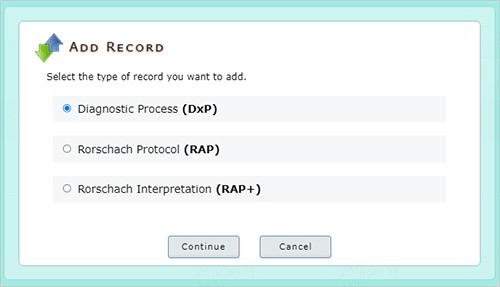
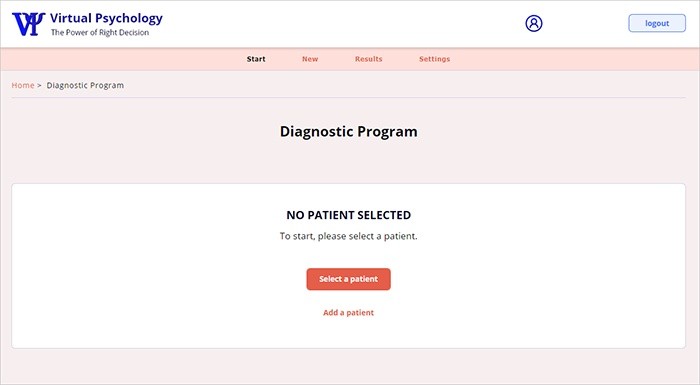
When you start a new diagnostic session, the first step is to select a patient for the diagnostic process. You must select a patient before you can use the diagnostic program. This establishes the diagnostic process for the selected patient.
Once a patient is selected, you can choose to start a new diagnostic process or view the results of the previous diagnostic process of the selected patient. You can always change between patients or add a new patient.
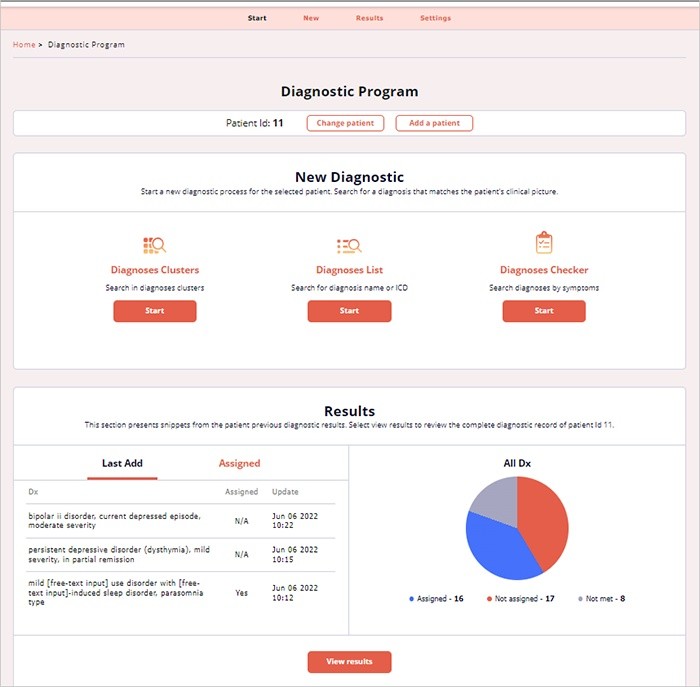
After selecting a patient, you can start or continue the diagnostic process for this patient or view snippets of the patient’s previous diagnostic process results. You can search for diagnoses by browsing the clusters or the list of all known diagnoses, or by using the checker to search for best-matched diagnoses according to the patient’s clinical picture.
The Records Cabinet ![]() is another place you can use to start a new DxP session and to manage your patients and records. In the Record Cabinet, select the patient for whom you want to start or continue the DxP diagnostic process.
is another place you can use to start a new DxP session and to manage your patients and records. In the Record Cabinet, select the patient for whom you want to start or continue the DxP diagnostic process.
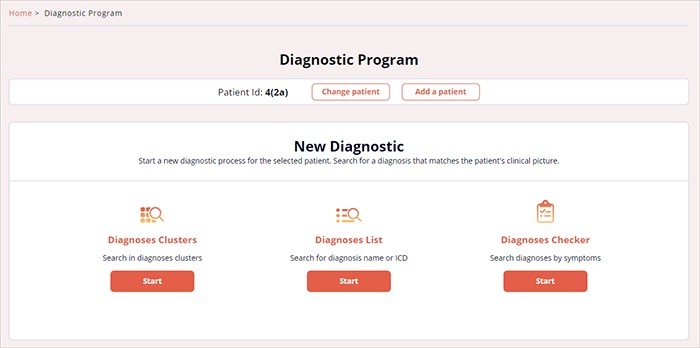
At the Records Cabinet, we selected patient 4(2a).
The selected patient is highlighted, and a list of all the corresponding patient records is presented.
In this case, the patient already has a DxP record. Click the edit record icon
This opens the DxP to start new diagnostic process for the selected patient. In our example, patient Id 4(2a).
|